
The Divi theme does not allow natively add an author's bio at the end of blog articles. If your blog hosts various editors (or even if you are the only one), you might want to post a little biography at the end of each article. In this tutorial, I will explain two ways to add a "author box" to your articles: with or without plugin.
Method 1: Add a bio at the end of your articles with Simple Author Box
Simple Author Box is a freemium plugin whose free version is already ample enough for add a beautiful author box at the end of your articles.
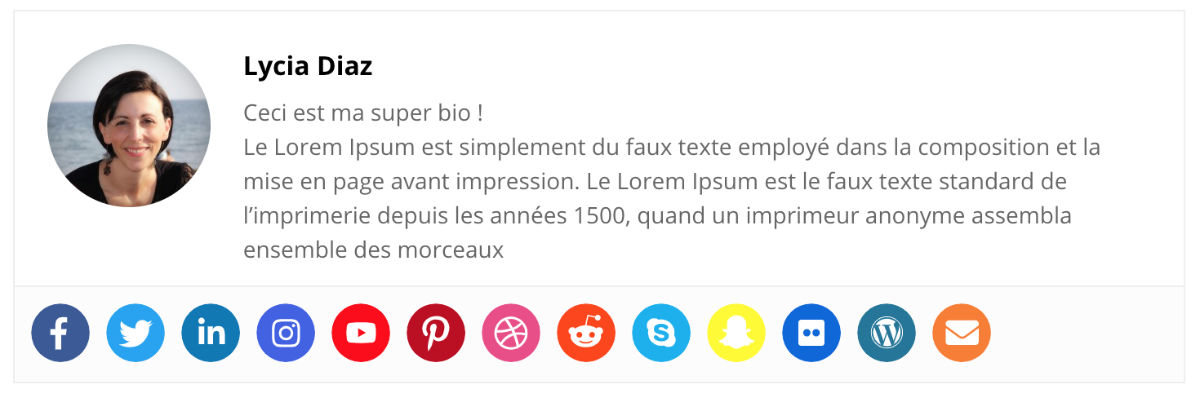
The appearance of author boxes can be set from the plugin's general settings. Many options are available.
From their profile, each user (administrator, editor, contributor, author...) can easily add the social networks he uses.
Here's how:
1. Install and enable Simple Author Box
As usual, go to the tab Extensions > Add and grab Simple Author Box in the search field. Install it and activate it.
2. Make plugin settings
You will see a new tab appear in the left sidebar of your administration screen: Simple Author. This is where you can start customizing author boxes.
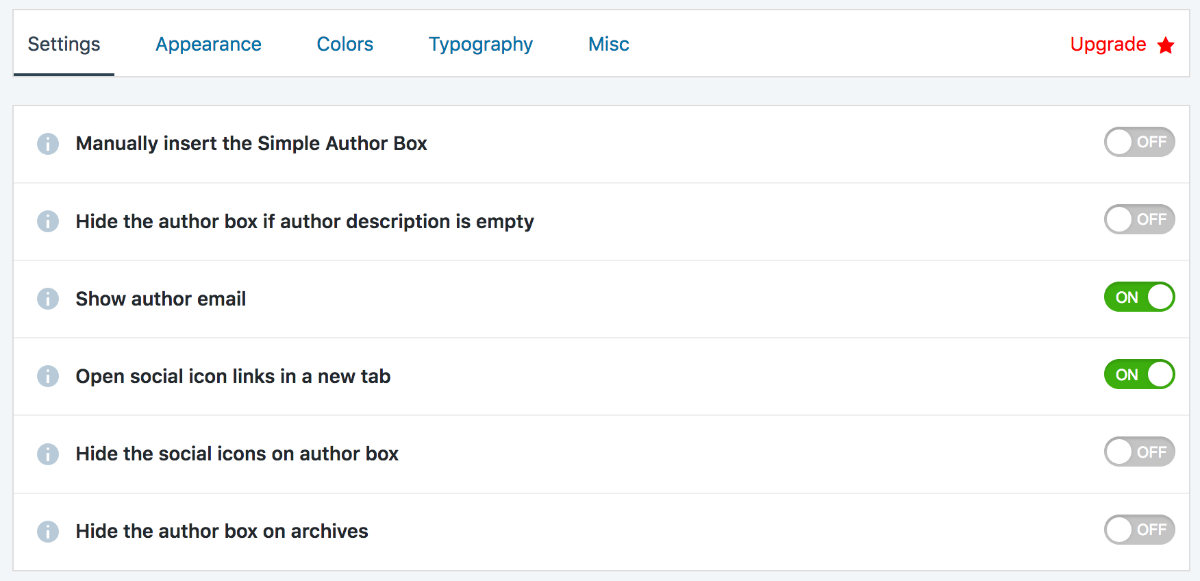
- The SETTINGS tab: Here you can decide whether to display the "author box", the email, opening in a new tab, icons etc.
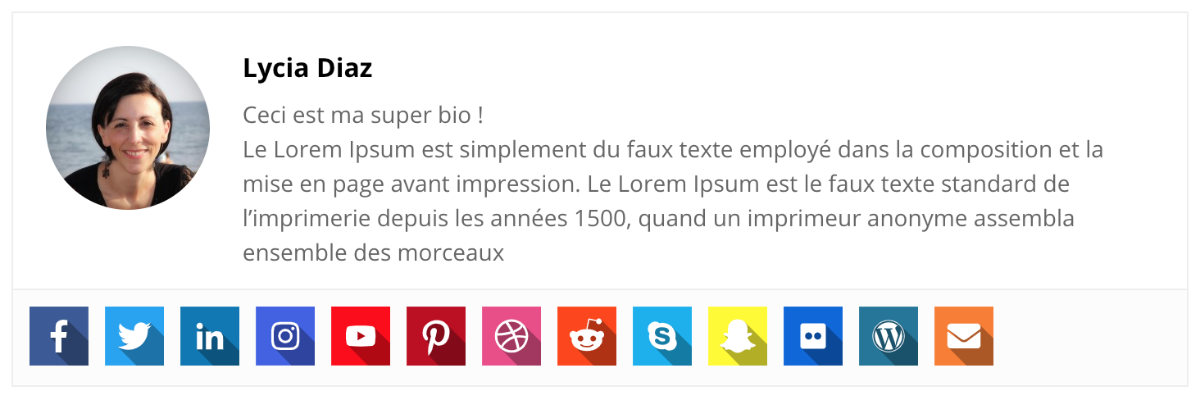
- The APPEARENCE tab: Here you can customize the margins, choose the appearance of the photo (round or square) and decide on the appearance of social media icons.
- COLORS tab: Here, everything is customisable. You can change the color of the "author box", the background of icons, links, text etc...
- The TYPOGRAPHY tab: Here you can define the type of titles, text etc. You will have the choice in the Google Fonts catalogue.
3. Add social media icons to the authors' bio
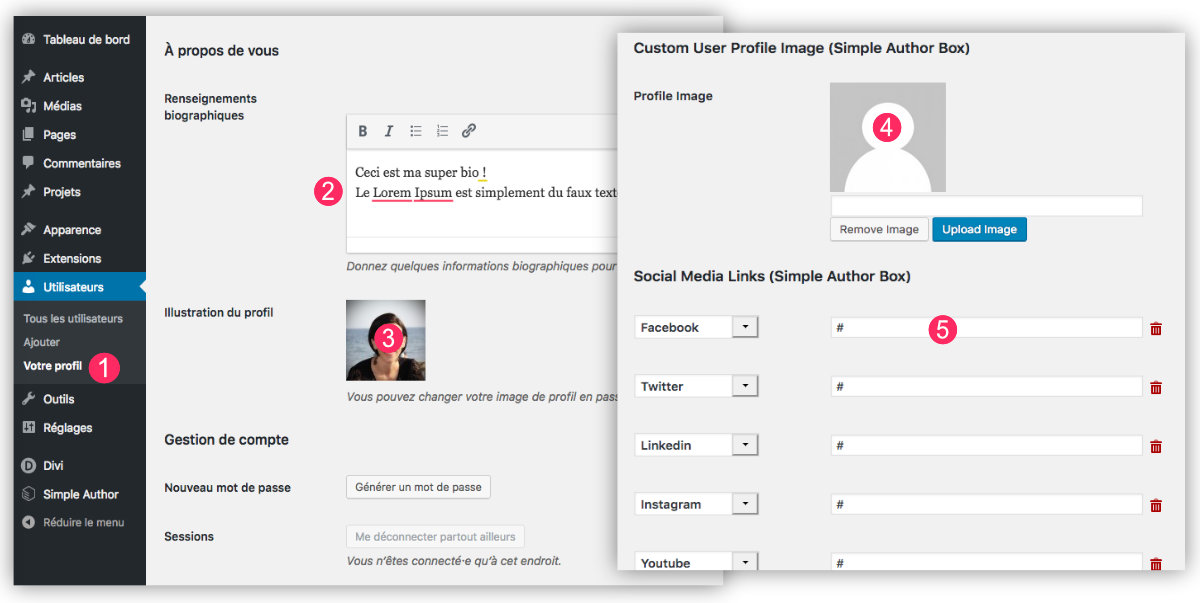
The second part of the parameterization of Simple Author Box happens in the settings of your profile.
- On the tab Users > Your ProfileYou can:
- Enter your biography. This is native in WordPress, not need this plugin to enter your bio. But if you want your "author's box" to have an impact, be sure to fill in this field.
- Add an illustration to your profile. This is automatic if you use Gravatar.
- If you do not use a Gravatar profile, Simple Author Box allows you to download an image to illustrate your profile.
- Finally, you can add as many social icons as necessary. Don't forget to fill out the URL of each of your profiles.
4. Check Result
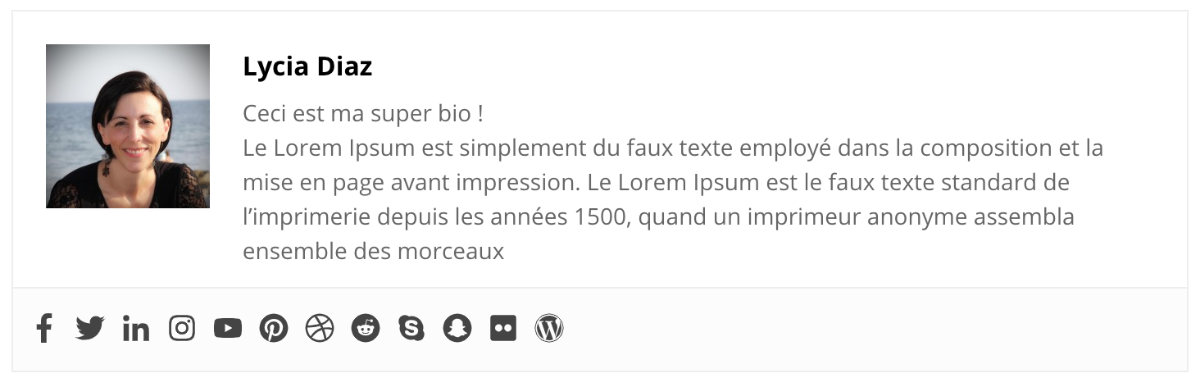
After you have done your settings and customizations, you can see your bio at the end of each item.
5. Advantages and disadvantages of this method
This method is ideal if you maintain a multi-author blog. Thus, each editor can customize his profile via the tab Users > Your Profile.
If you are the only editor of your blog, is it really necessary to add such a plugin? Maybe because it's simple to use and the rendering is pretty good... Otherwise, an alternative is available to you: coding your bio at the bottom of each item...
Method 2: Add a bio at the end of your articles without plugin
The plugin Simple Author Box offers so many possibilities that I am not sure that you need or want to use the method without plugin. Here you will need to put your hands in the code and redouble your imagination to optimize the appearance of your author box using CSS... but why not?
Here's what you need to do:
1. Edit single.php in a child theme
For this method without plugin, you will need, first of all, create a child theme of Divi.
Then you will have to:
- copy file single.php contained in the parent theme in order to paste it into your child theme.
- Edit this file single.php using a text editor as SublimText for example (or Bracket)
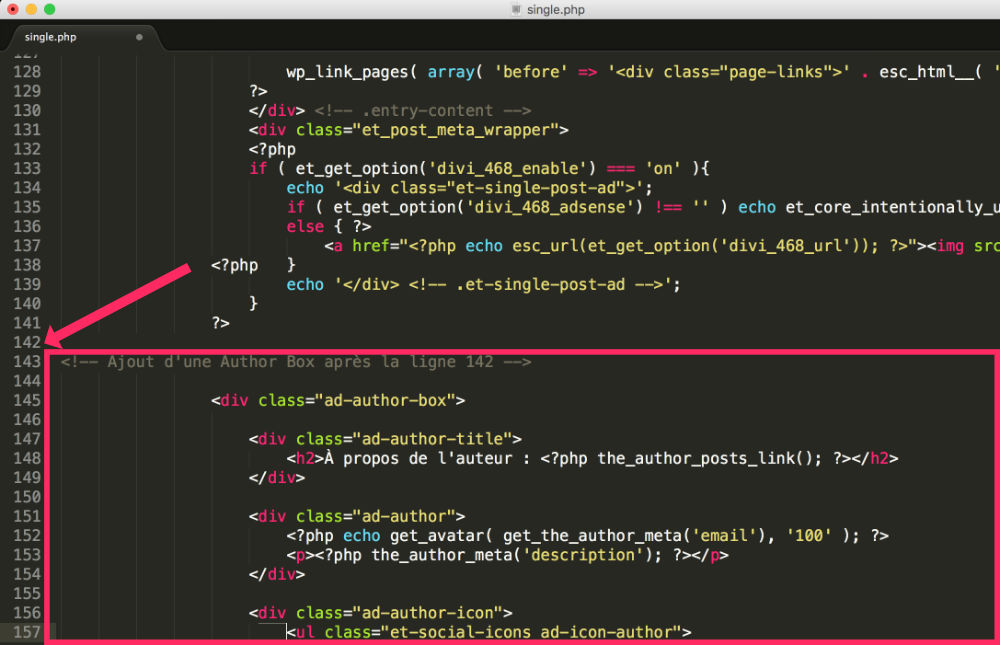
- add - after line 142 of single.php file - this code tag:
Adding an Author Box after line 142 About the author: php the_author_posts_link();? php echo get_avatar( get_the_author_meta('email'), '100' );? php the_author_meta('description');? icone facebook <a class="icon" href="https://facebook.com/"> php esc_html_e( 'Facebook', 'Divi' );? icone twitter <a class="icon" href="https://twitter.com/"> php esc_html_e( 'Twitter', 'Divi' );? icon linkedin <a class="icon" href="https://fr.linkedin.com/"> php esc_html_e( 'Linkedin', 'Divi' );? icone instagram <a href="https://www.instagram.com/"class="icon"> php esc_html_e( 'Instagram', 'Divi' );? icone youtube <a class="icon" href="https://youtube.com/"> php esc_html_e( 'YouTube', 'Divi' );? icone pinterest <a class="icon" href="https://pinterest.com/"> php esc_html_e( 'Pinterest', 'Divi' );? end of the Author Box
Note: all the red links contained in the above code must be replaced by your own social media links.
2. Add CSS to improve the appearance of the author box
Finally, once the code is inserted in the right place in your file single.php you can improve the appearance with a few CSS. For my example, here is the CSS code I used:
.ad-author-box { border: 2px solid; padding: 30px 30px 60px 30px; Margin-top: 60px; box-shadow: 5px 5px 0px 0px #e1e1e1 !important; } .ad-author-title { margin-bottom: 20px; } .ad-author img{ float: left; margin-right: 20px; border-radius: 50%; box-shadow: 3px 3px 0px 0px #e1e1e1 !important; } .ad-icon-author{ padding-top: 45px !important; background-color: #ffffff; padding-right: 20px !important; }
This CSS code must be added to the tab Appearance > Customize > Additional CSS or tab Divi > Theme Options > General tab (at the bottom of the page).
3. Check Result
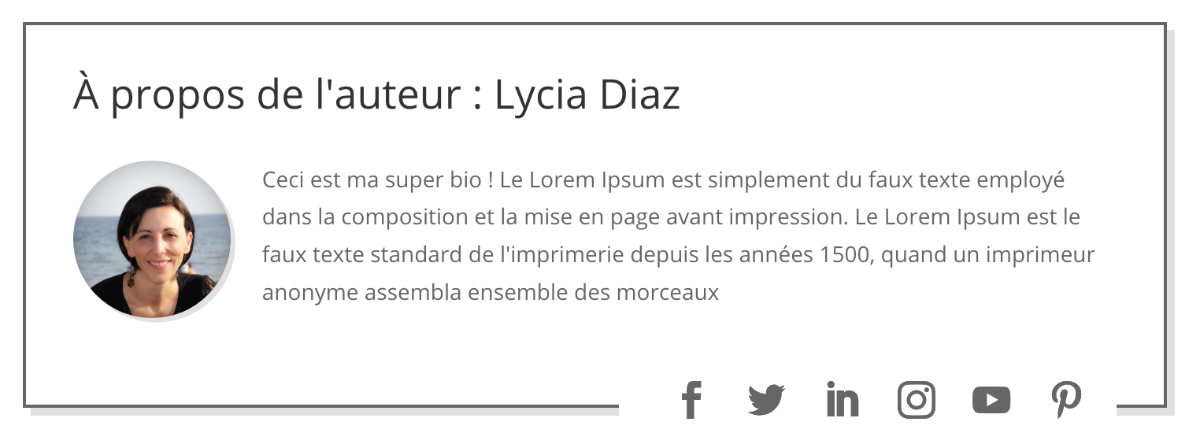
Once the single.php modified and the CSS added, you should see a biography of the author at the end of each of your articles resembling the above screenshot. If the design doesn't suit you, you can easily modify it using CSS.
4. Advantages and disadvantages of this method
This method is ideal if (and only if) you are the only editor of your blog and you do not want to burden your site with an additional plugin. However, Simple Author Box does the job well... to see...
In conclusion...
You saw that it was rather easy to add an author's bio at the end of your articles. Is that really necessary? No... is that interesting? Yes.
Indeed, putting the author forward perhaps interesting because it humanizes the article. The Internet user sees that there is a real human behind a blog article, it creates interest, interaction... And it's always good. Moreover, this will allow you to highlight yourself because not all Internet users bother to visit your page "About".
0 commentaire