
Would you like your site to be personalized in every detail? I propose you a easy and fast tutorial who helps you to customize the mouse cursor on your site. Thus, when your visitors fly over a link, the cursor is fully customized:
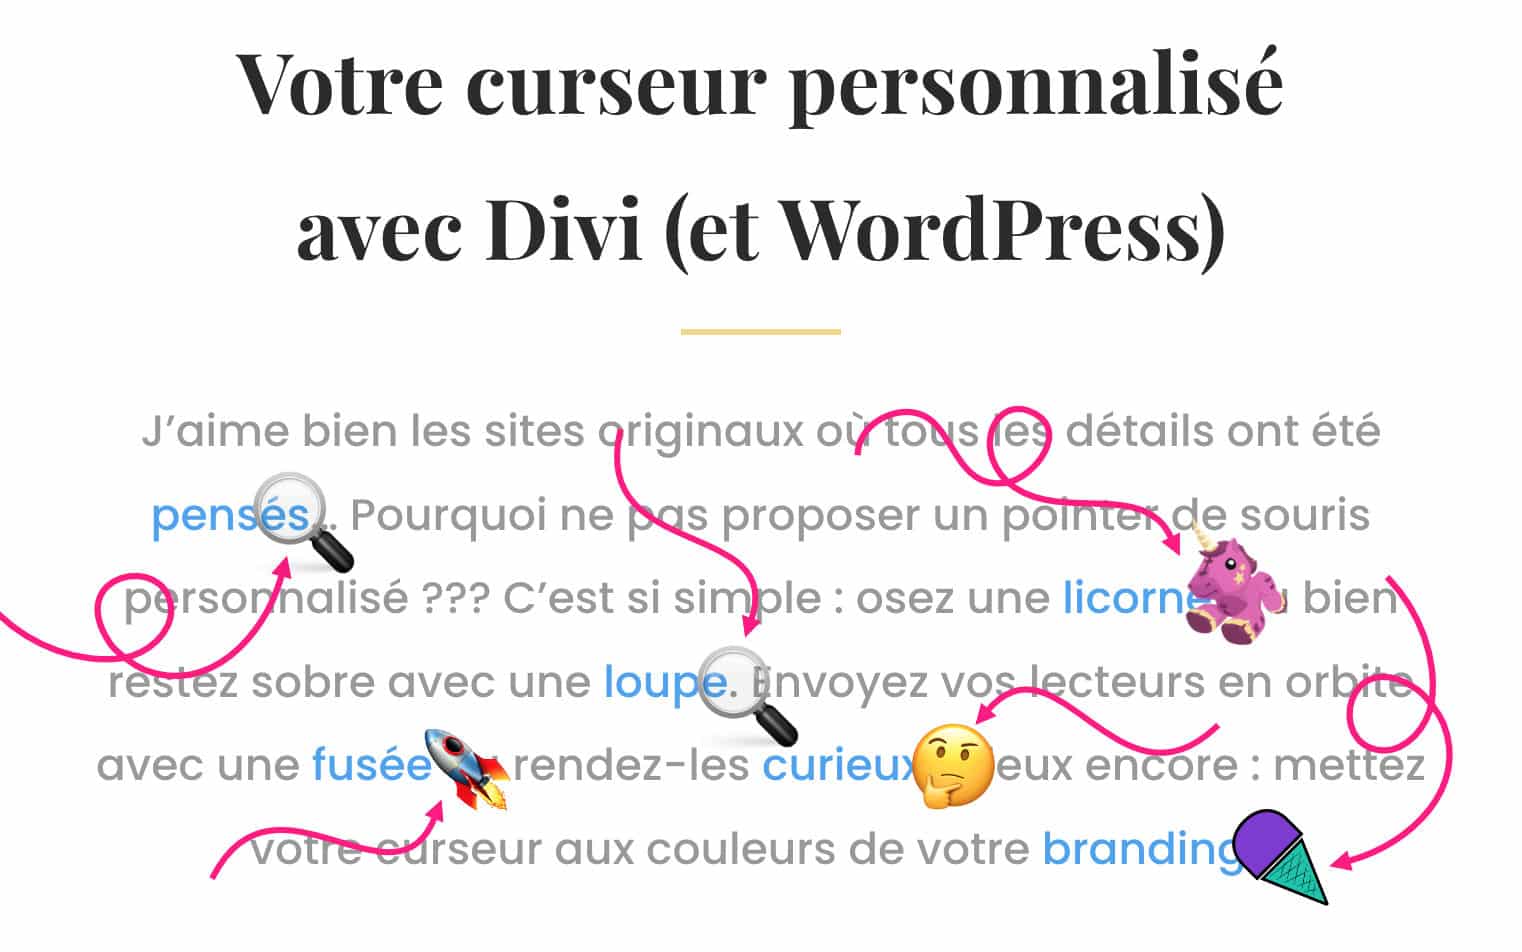
You can use emojis or even use your logo for a well-linked branding! Besides, it's so easy, even without any knowledge you will achieve an immediate result in less than 5 minutes...
Here we go!
Did you know that? You can test Divi for free by visiting on this page and by clicking on "TRY IT FOR FREE"
1 - Why customise the mouse cursor?
I believe that in creating a site, the nicest part is customization of design. With a little imagination and some knowledge, we can do everything... It is also the purpose of Divi Tips to give you all the keys to achieve this. There was, however, one issue that had not yet been addressed here: custom mouse cursors.
The good news is that the following tutorial adapts to all sites: WordPress with or without Divi, and even non-WordPress sites!
So why customise your cursors? Simply for:
- Do not leave at random any details,
- to add fun,
- to create astonishment
- and, if done well, to improve the user experience!
So here are 4 good reasons to implement this on your site.
Need to master Divi? Discover my training that accompanies you step by step in the understanding and use of Divi! Learn more about Divi training.
2 - Video tutorial
For starters, I suggest you watch the video that explains everything, then you will find the details in the rest of the article...
3 - Create your custom cursor in 3 steps
No skills needed to create your custom cursor but the bulk of the job lies in choosing the right image. Also, you will certainly need image editing software to set the right size.
3.1. - Prepare your images
Remember that the image must have a transparent background to get a better rendering = use images .png.
If you want to use emojis, visit a site that allows you to download emoji in PNG. Not all offer it but I suggest the site Emojipedia.org.
You can use your logo(s).
The ideal size seems to be around 25px to 32px wide.
Once you are in possession of your images, you can upload them to the media library of your site.
3.2. - Define your CSS classes
Go now to the tab Appearance > Customize > Additional CSS then add the code below to create your CSS class:
/* changer l'apparence du curseur */

.my-cursor {
cursor:url(URL DE VOTRE IMAGE),auto;
}
You can also create several CSS classes to use various custom sliders on your site, so it would look like this:
/* changer l'apparence du curseur */

.cursor-loupe {
cursor:url(URL DE VOTRE IMAGE),auto;
}

.cursor-licorne {
cursor:url(URL DE VOTRE IMAGE),auto;
}

.cursor-curieux {
cursor:url(URL DE VOTRE IMAGE),auto;
}

.cursor-fusee {
cursor:url(URL DE VOTRE IMAGE),auto;
}
See you here to find out everything about adding code to your site.
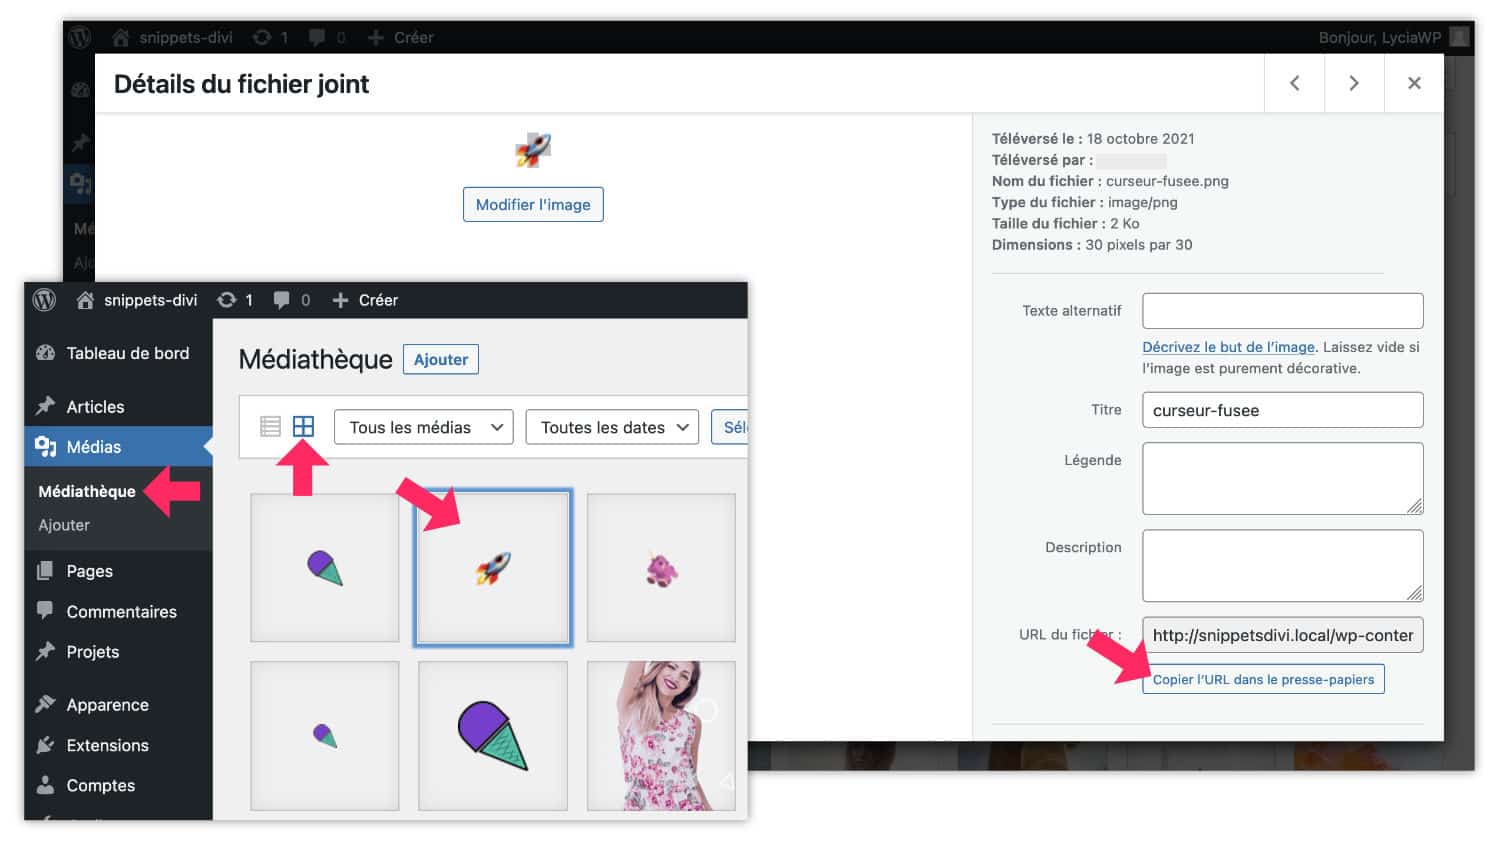
Of course, don't forget to fill in the URL of your image. To find it, go to the media library in "grill" mode, click on the image and copy its URL to the clipboard. Then paste it into your CSS class code.
3.3 - Customize your links
Now, apply your class to certain links within your text.
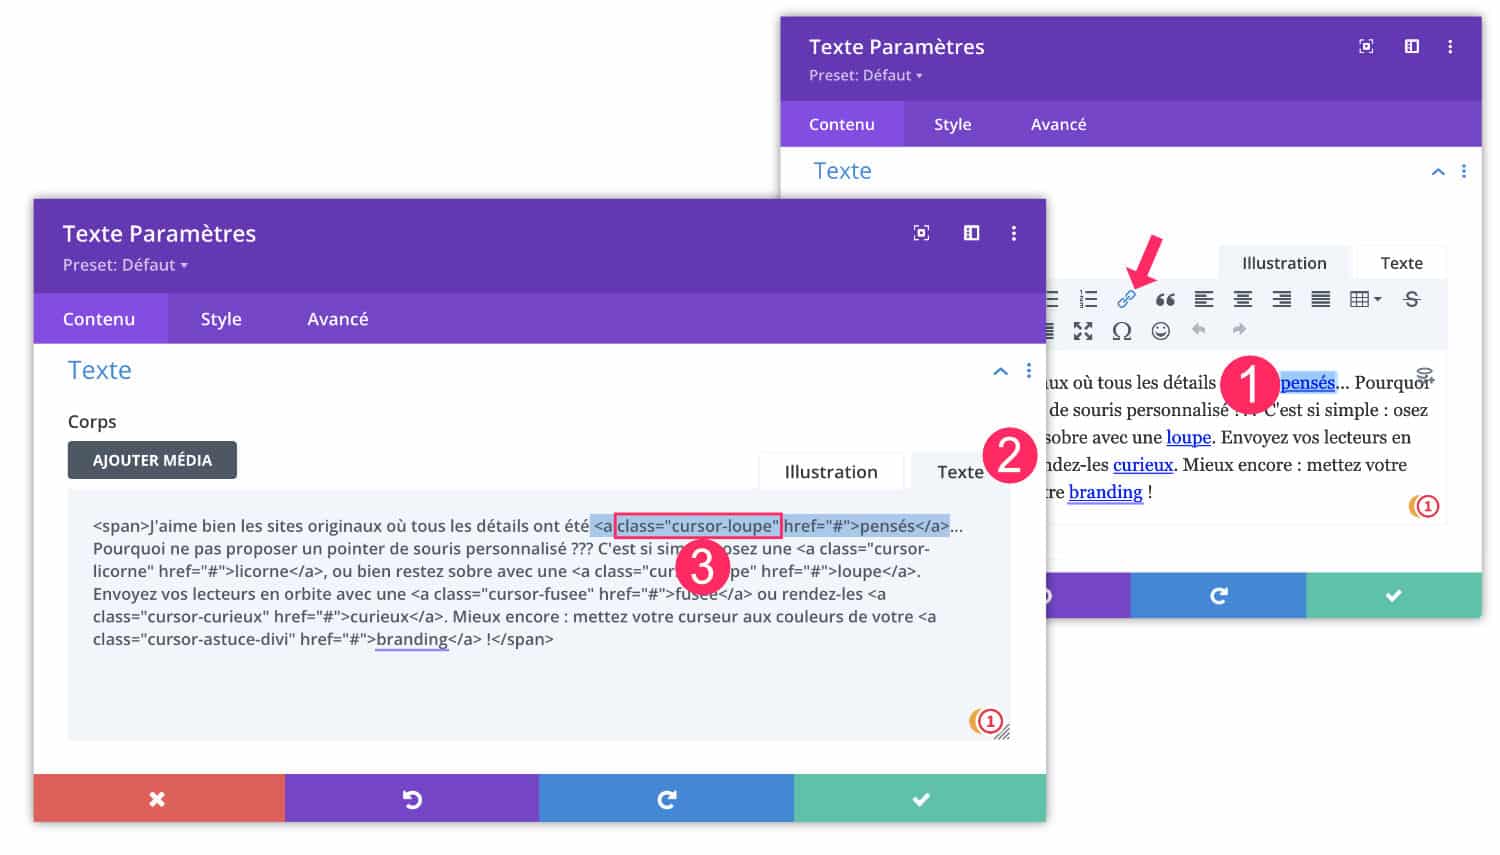
- Insert a link to your text, as usual.
- Switch editor to "Text" mode
- Add your CSS class within the tag (link mark). Note that here we seize class="cursor-loupe" and not class=".cursor-loupe". It is therefore appropriate not to point "." before the name of the class.
There! Your mouse cursor is completely customised when browsing a link!
4 - Customize the cursor on all your links!
Another option: you don't want to edit all your links to add a CSS class. You do not want to customize CERTAIN links but indeed ALL your links.
In this case, you do not need to create a CSS class, you must act directly on the HTML tag .
Go to the tab Appearance > Customize > Additional CSS Then add the code below to change the cursor on the entire site:
/* changer l'apparence du curseur sur tous les liens du site */

a {
cursor:url(URL DE VOTRE IMAGE),auto;
}
Now, all links on your site will have a custom cursor on the fly-over.
5 - Customize the cursor throughout the site (always visible)
We can have fun with custom sliders, and I had a good time myself. However, if you have watched my video presenting the site ofIrregular Choice, you may have noticed that the mouse cursor was a magic wand and that it was different over the links.
If you wish modify the mouse cursor throughout your site, even when the user does not browse the linksIn this case, this code should be used:
/* changer l'apparence du curseur sur tout le site */

* {
cursor:url(URL DE VOTRE IMAGE),auto;
}
But be careful, by doing this, you reduce the user experience, as your visitor will not see any difference when browsing the links and will not know if it can click, so it is necessary to define a cursor status for the entire site and a different status when browsing the links (using 2 images):
/* changer l'apparence du curseur sur tout le site (UX) */

* {
cursor:url(URL IMAGE 1),auto;
}

a {
cursor:url(URL IMAGE 2),auto;
}
Here, here, it's really "custom" 😉 Hey!
Don't delay! Discover the theme Divi here !
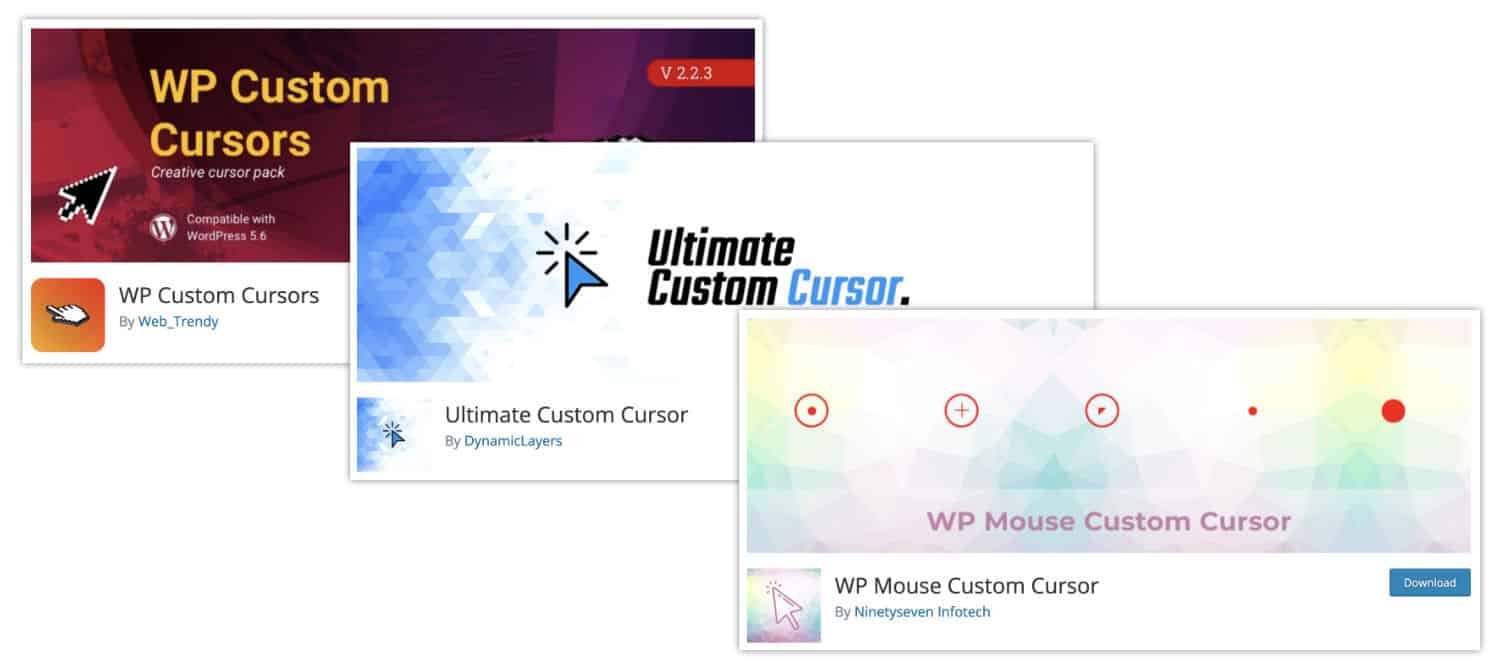
6 - Or use an extension.
Of course, there are also extensions that allow to implement a custom cursor within your site. You will certainly find more customization options, but is the game worth it? It's up to you to see (and test):
7 - To your cursors!
There you go! With a little CSS, we can do great things, you know! But there are also other ways of modify the mouse cursor on your site, especially in JavaScript...
To go further, here is a playlist:
- List of all slider states available in native
- How to add a stylized and inverted cursor to your Divi page
- Understand mouse cursor modification
- How to turn your cursor into a button when hovering an item using Divi
- Change mouse cursor only for your computer (not for your site)
- How to change an image on the flyover with Divi
Need more resources on Divi? Visit ElegantThemes blog full of ideas and tutos! Or learn how to effectively use this theme through my training Divi !


0 commentaire