
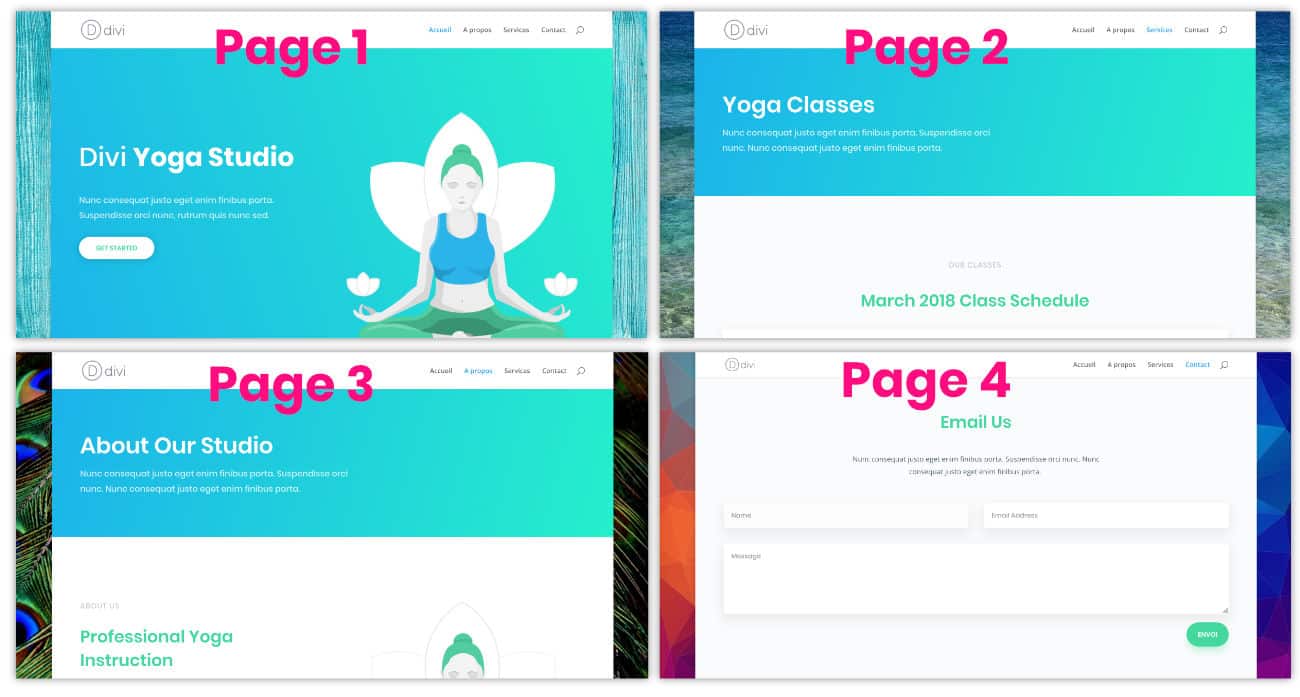
In a previous tuto, you saw it was easy get a different color on each page of your site. I now propose that you carry out the same technique for get a different background image on each page of your Divi site.
The procedure is substantially the same, but above all, it's just as easy...
Here is the program:
- Enable embossed layout
- Set a default background image
- Obtain the identifier of each page
- List URLs of your images
- Edit CSS to display a different background image on each page
- Here is the result in video
1 - Enable embossed layout
In the same way as to make the background color visible, you must enable the embedded layout of Divi so that we can see the background image of your Divi site.
For this, just go to the tab Appearance > Customize > General Settings > Layout Settings > Enable embossed layout
To learn more about the procedure, read the article dedicated to the embossed layout of Divi.
2 - Set a default background image
Divi natively offers this option and it is very easy to select your background image from customization settings.
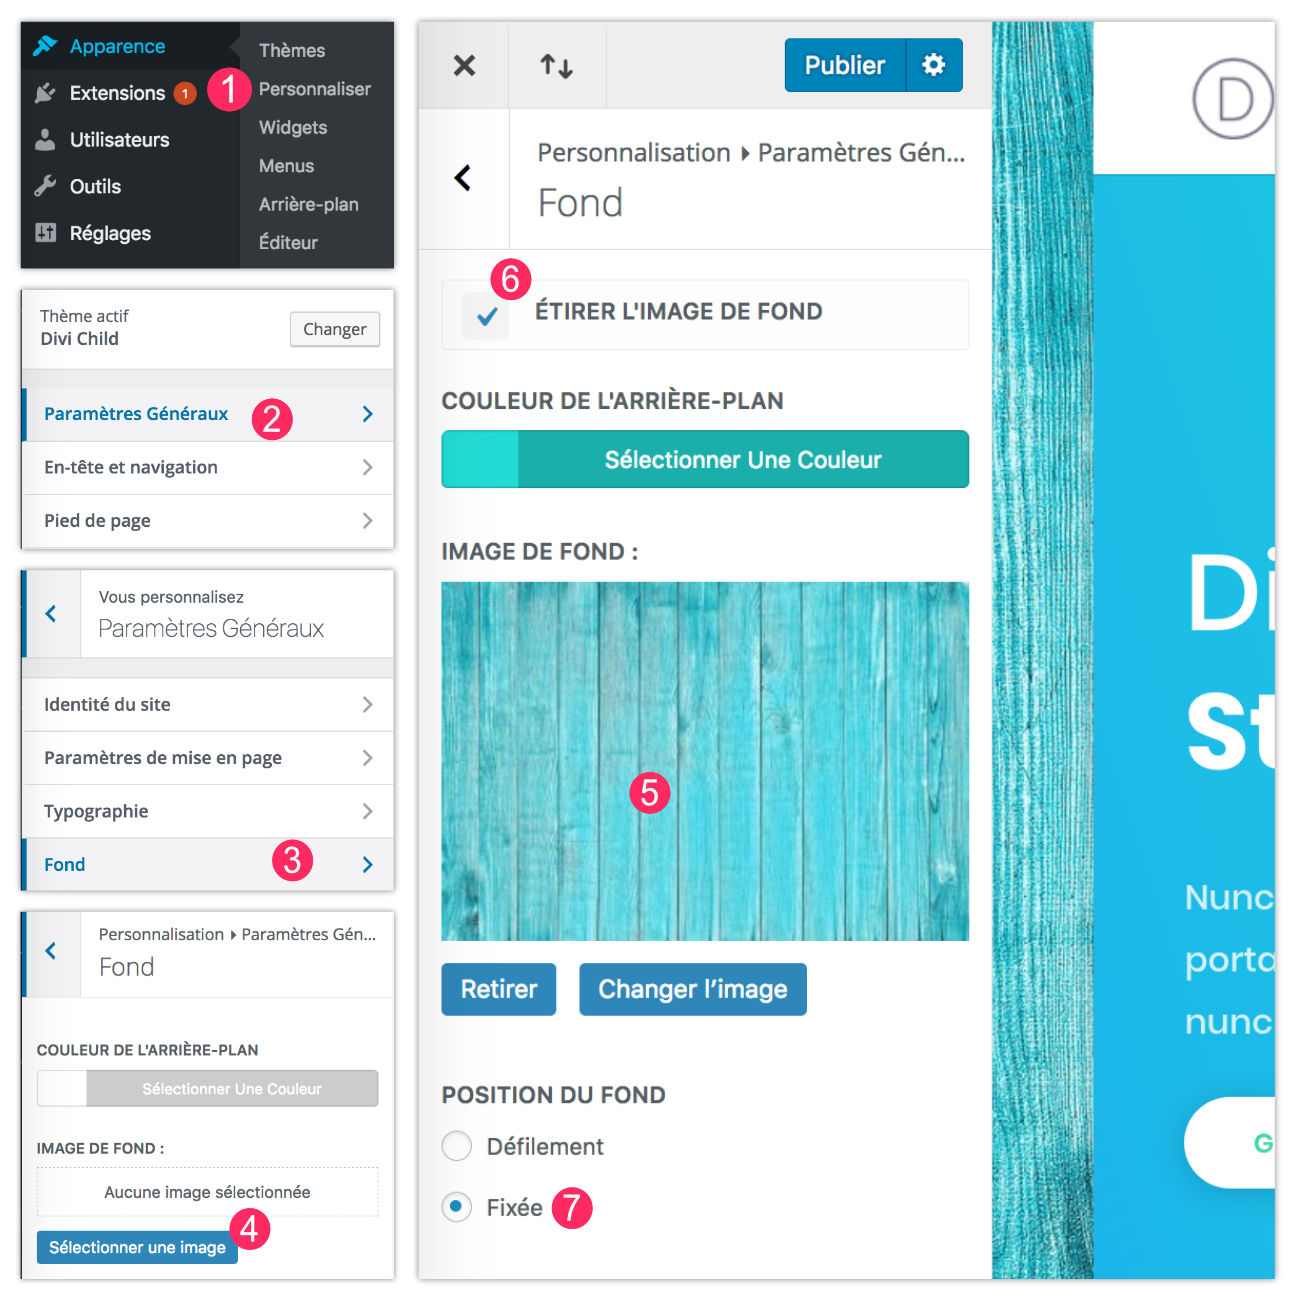
- Appearance > Customize
- Click General parameters
- Click Background
- Then on "Select an image" in the option "Background image"
- A window will open to offer to upload your image or choose it from the elements of your media library.
- If your image requires it, check the box "stretch the background image"
- For a nice effect, choose the option Fixed available in section Background. The background image will be fixed and the content of your page will slide to scrolling. Remember to click on "Publish" to save your changes.
Now, the whole of your site make the background image you just set appear.
3 - Obtain the identifier of each page
The CSS code I give you later in this article will need information specific to each site. You will then need to obtain this information to adapt the CSS code to work on your site.
You will therefore have to start by listing the pages of your site that will be the subject of a background image change in order retrieve their ID.
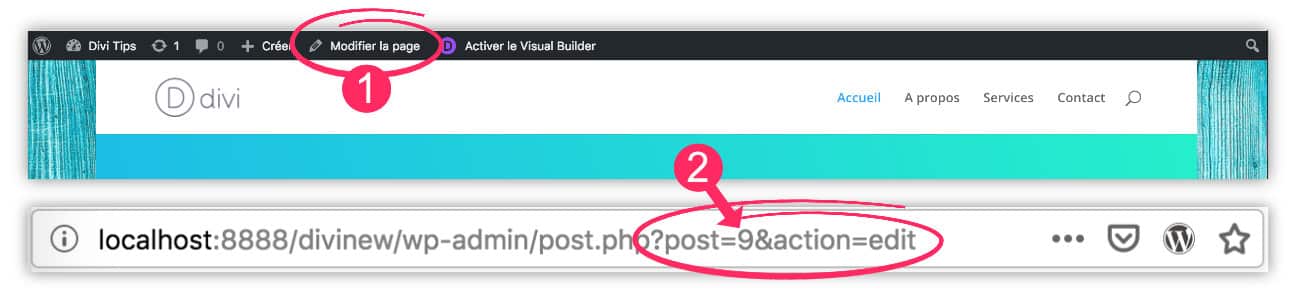
To obtain the page identifier to be modified:
- See the administration of the page in question. You can do this very well from the front office by clicking on Edit Page (not on enable visual builder). Or from the back office to the tab Page > All pages.
- Once in your page in "Edit" mode, just look at the URL bar of your browser. You will see a type URL monsite.com/wp-admin/past.php?post=9&action=edit. The number after [post=] is the identifier of your page.
It is therefore sufficient to identify this identifier for each page to be modified.
4 - List URLs of your images
In the same way as the identifier, there is another parameter that will be unique to your site: the URL of your images.
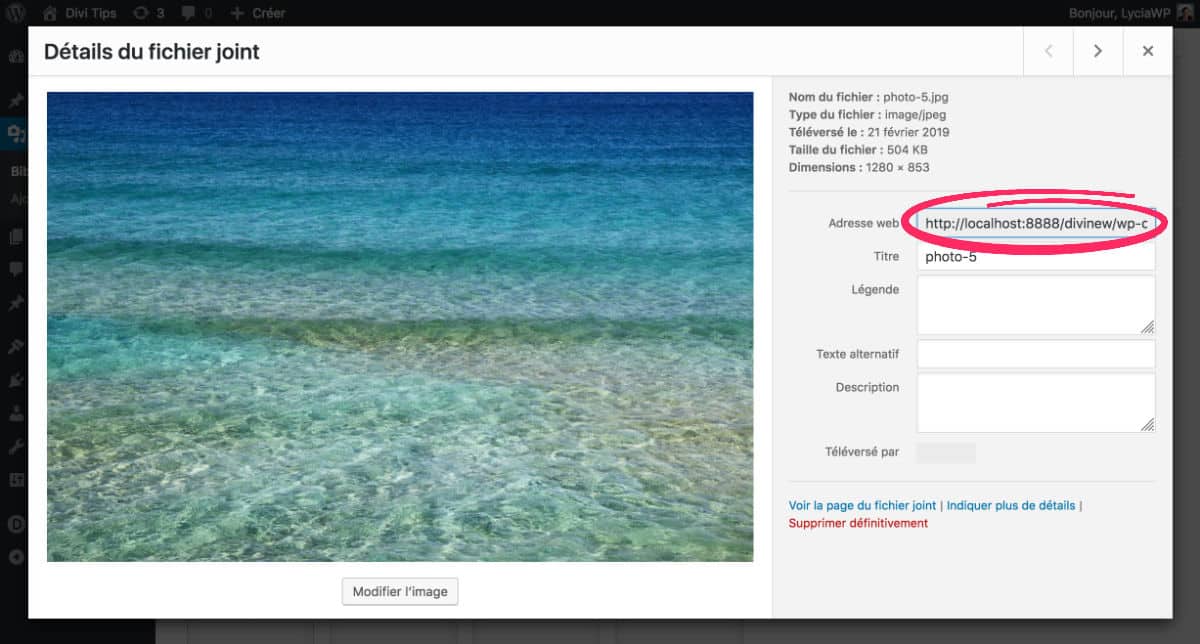
You will need to list the URLs of the images you will use as a background. For this, go to the tab Media > Library and click on the image to set in the custom background to recover its URL entered in the field Web address.
Renew the procedure for all images that will serve as your background.
5 - Edit CSS to display a different background image on each page
Copy and paste the CSS code below in the tab Appearance > Customize > Additional CSS, taking care to modify the elements in red with your own values:
/* personalized images for each page */.pageid-28.custom-background {background-image: url("place here the url of your image");}.page-id-9.custom-background {background-image: url("place here the url of your image");}.page-id-25.custom-background {background-image: url("place here the url of your image");
}
Some explanations about this code:
- .page-id-28: This is where you will need to change the identifier of your page. Change the 28 by the numbers that are specific to your pages.
- .custom-background: Don't change anything here.
- background image: url("xxx") : Here, you can insert the URL of your image instead of xxx.
To learn more about the CSS property "background-image", I invite you to read this page.
Need more resources on Divi? Visit ElegantTheme's blog full of ideas and tutos!
6 - Here's the video result...
Find other tutorials for Customize Divi on the dedicated section !
Des jours que je cherchais la balise css à mettre pour modifier le fond de ma page d’accueil.. Mille mercis !
Merci Catherine 😉
bonsoir Lycia
2 questions
1/peut on changer l’image de fond d’un layout ?
2/ peut on utiliser differents layouts par page créée ?
merci
si tout ça c’est possible ca m’eviterait de mettre la patte aux codes
PS j’apprends bcp dans les e books !!!
Super que mes Ebooks t’aident Michèle ! Oui bien sûr que tu peux changer les images ! Tu dois trouver dans quel module elles ont été placées. Si c’est une image de fond, c’est souvent dans les réglages de la section (bleue) onglet contenu > fond > sous-onglet image (icône d’une image)… et oui tu peux utiliser différents layout sur chaque page.
super merci pour ta réponse je vais essayer ce soir et te tiens au courant
merci encore
rebonjour Lycia
ca ne marche pas
c’était bien dans la section violette j’ai changé image de fond et elle ne remplace pas l’autre
déjà dans Admin il y avait marqué Hero section et j’ai supprimé
pour que ca redevienne section
ca n’integre pas la nouvelle image et je garde le fond il y a surement une autre case à cocher
je n’arrive pas à joindre une copie d’ecran
si tu as une idée …je continue à chercher
j’ai posté un commentaire il y a deux heures car je n’y arrivais pas….. je ne le retrouve pas dans le fil !!
en tous cas j’ai trouvé la solution
il faut aller dans fond et aussi dans superposition et dans les deux modules
si l’autre commentaire ressort efface le
je continue à bosser
qd j’aurai fini promis je te montre le site
Salut Michèle.
J’ai l’impression que tu veux aller trop vite. Il faut que tu prennes le temps d’apprivoiser Divi et de comprendre son fonctionnement global. Mes ebooks t’aident en partie, l’autre partie viendra avec le temps et la pratique. Ça ne s’acquiert pas en une journée malheureusement ! Il faut des semaines… Tu dois chercher et galérer, quelques fois, pour trouver ! Plus tu es curieuse, plus tu découvriras les options. N’hésite pas à cliquer partout et même à créer des pages de test pour mieux comprendre. Ensuite, tu seras de plus en plus efficace. Apprendre WordPress et Divi, c’est comme tout : apprendre à conduire, apprendre PhotoShop, apprendre à lire, hi hi hi !
Donc je ne m’inquiète pas, tu vas trouver.
Super, ben tu vois, j’ai répondu à ton 1er commentaire avant de voir celui-ci… Je savais que tu trouverais 😉
hi hi hi !!
bon j’avance mais je fais plus que ça heureusement il pleut !!!!!
en tous cas c’est sympa de repondre aussi vite et gratuitement en plus franchement j’adooore
en fait j’ai acheté un domaine pour moi perso et un domaine pour mon club
alors je fais tous les essais sur le mien et je mettrai en place sur celui du club qd je serai au top
voili voilà
je voudrais qd meme pas y passer tout l’été !!
merci Lycia
Bonjour et merci pour ce tuto !
Connaîtriez-vous le code pour personnaliser le fond d’une page produit woocommerce avec DIVI ?
Merci 🙂
Salut Éric, pourquoi tu n’utilises pas le thème Builder ? Tu personnalises ta page comme tu veux.
Bonjour Lycia et merci pour ta réponse 🙂
ce que je cherche à faire c’est un fond différent pour chaque produit. Je ne crois pas que cela soit possible avec le thème builder.
Merci Lycia pour ta réponse,
j’ai besoin d’une image de fond personnalisée pour chaque produit. Je ne crois pas que le thème builder puisse le faire. L’astuce donner dans le tuto fonctionne pour les pages, mais pas pour les produits.
(J’ai essayé avec .product-id-28.custom-background ou .post-id-28.custom-background avec l’ID du produit)
Salut Eric, avec le thème builder, tu peux définir ton image de fond et aller la chercher en base de données. Si tu choisis l’image de mise en avant, elle sera alors différente pour chaque fiche produit. Je pense donc que c’est possible.
Eric, je suppose qu’il faut inspecter le code pour voir exactement quelle classe CSS est appelée. Ensuite, lorsqu’il y a plusieurs classes, mettre un espace ou non entre les deux peux avoir un impact.
Bonjour,
Je n’ai pas l’onglet apparence sur mon tableau de bord
Salut Brec. Vérifies que tu aies bien un profil Administrateur
Comment peut on savoir notre profil ?
Brec, tu vas à Utilisateurs > Profil